
Creating your own online shop is an exciting venture that can be both rewarding and profitable. With the right tools and guidance, setting up a self-hosted ecommerce website can be relatively straightforward. In this guide, we’ll walk you through the process of quickly setting up your own online shop using WordPress and WooCommerce. The best part: you don’t have to have any programming knowledge to set up your online shop!
Why WordPress and WooCommerce?
Before we dive into the setup process, let’s briefly discuss why WordPress and WooCommerce are an excellent choice for your ecommerce website.
WordPress: The Power of a Flexible Platform
WordPress is one of the most popular content management systems (CMS) in the world. It’s renowned for its ease of use, flexibility, and vast ecosystem of plugins and themes. With WordPress, you have full control over your website’s design and functionality, making it an ideal choice for building an ecommerce site.
WooCommerce: Transforming WordPress into an Ecommerce Powerhouse
WooCommerce is a free, open-source plugin for WordPress that adds robust ecommerce functionality to your website. It allows you to easily create and manage an online shop, sell physical or digital products, accept payments, and much more. With WooCommerce, you can turn your WordPress site into a fully-fledged ecommerce platform without needing to write a single line of code.
Now that we understand the power of WordPress and WooCommerce, let’s get started on setting up your self-hosted ecommerce website.
Step 1: Choose a Web Hosting Provider
The first step in setting up your self-hosted ecommerce website is to choose a reliable web hosting provider. Your hosting provider is where your website’s files will be stored and accessed by visitors. When selecting a hosting provider, consider factors such as performance, reliability, security, and customer support.
Popular web hosting providers that are compatible with WordPress and WooCommerce include:
Once you’ve chosen a hosting provider, sign up for a hosting plan that meets your needs and budget.
Step 2: Install WordPress
With your hosting account set up, it’s time to install WordPress. Many hosting providers offer one-click WordPress installation, making the process quick and effortless. If your hosting provider doesn’t offer this feature, you can manually install WordPress by following these steps:
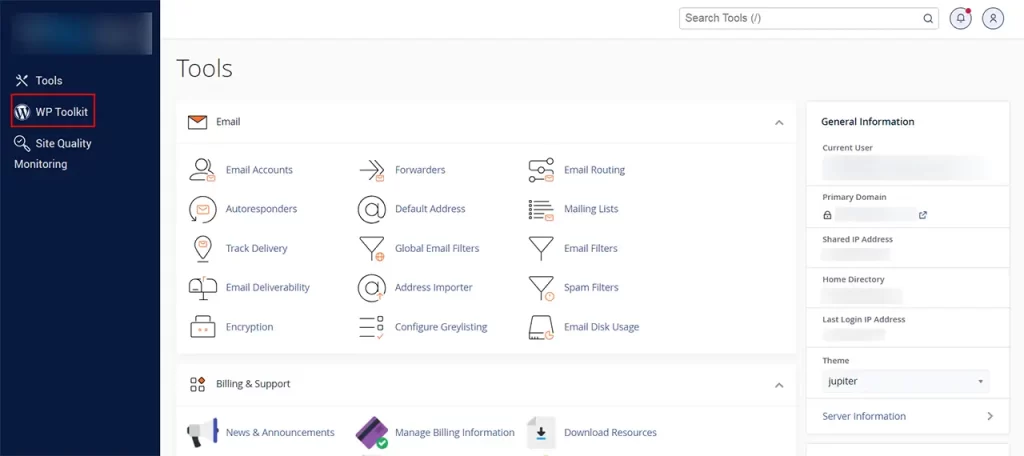
- Log in to your hosting account’s control panel (e.g., cPanel).
- Look for either “Softaculous”, “Auto Installers”, WP Toolkit” or “WordPress Installer” section.
- When using Softaculous or another auto installer, select WordPress and follow the on-screen instructions to complete the installation. WP Toolkit and WordPress Installer are focused on WordPress. Follow the instructions to install.
- Once WordPress is installed, you’ll receive login credentials for your WordPress dashboard.
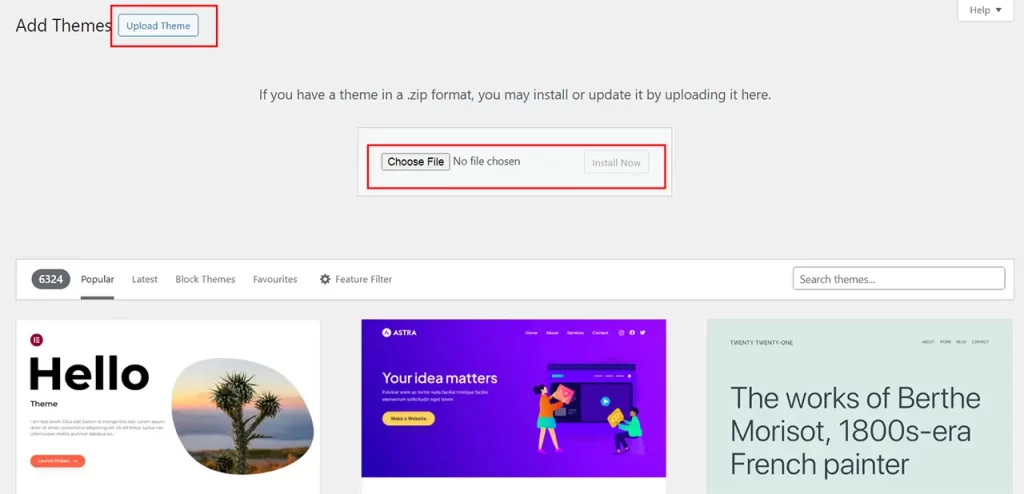
Step 3: Choose a WordPress Theme
Now that WordPress is installed, it’s time to choose a theme for your ecommerce website. Your theme determines the overall look and feel of your site, so choose one that aligns with your brand and aesthetic preferences. You can find thousands of free and premium WordPress themes designed specifically for ecommerce websites.
Popular marketplaces for WordPress themes include:
Once you’ve chosen a theme, install and activate it through your WordPress dashboard.
Step 4: Install and Configure WooCommerce
With WordPress and your theme in place, it’s time to install and configure the WooCommerce plugin. Follow these steps to get started:
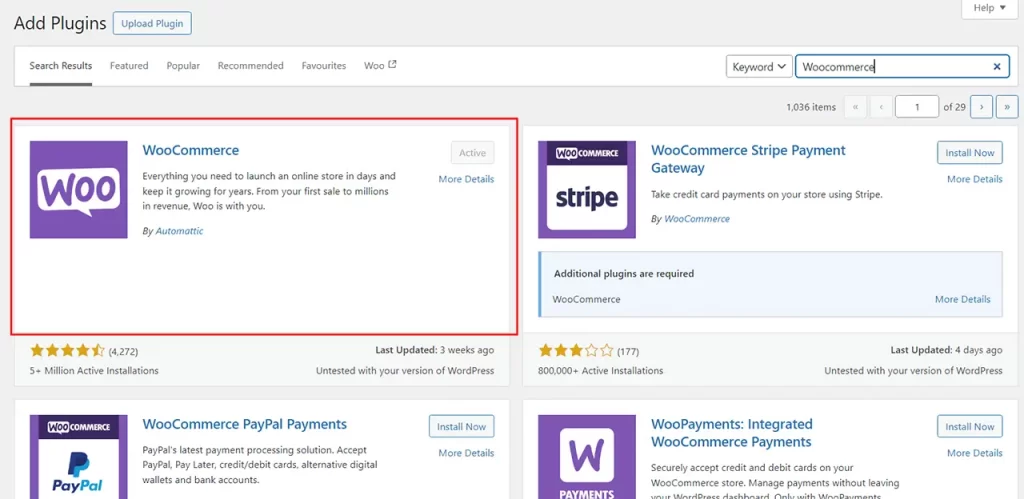
- In your WordPress dashboard, navigate to “Plugins” > “Add New.”
- Search for “WooCommerce” and click “Install Now.”
- After installation, click “Activate” to activate the plugin.
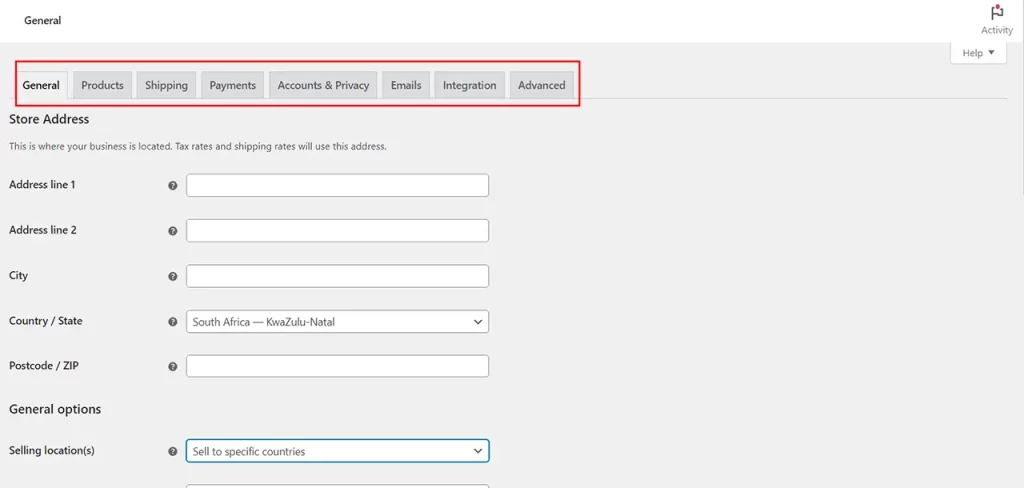
- Follow the setup wizard to configure essential settings such as currency, payment methods, shipping options, and taxes.
- Once the setup wizard is complete, your online shop will be ready to start adding products.
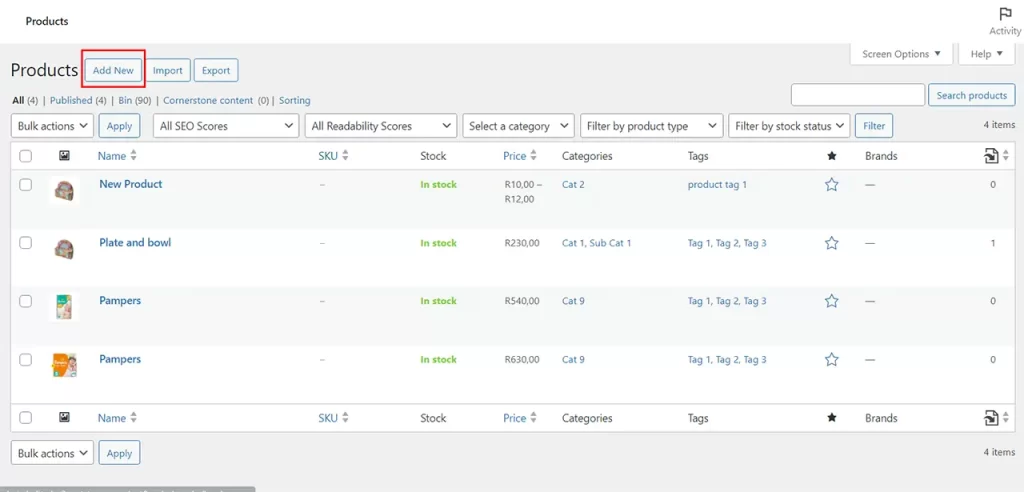
Step 5: Add Products to Your Store
Now that WooCommerce is set up, it’s time to add products to your online shop. To add a new product, follow these steps:
- In your WordPress dashboard, navigate to “Products” > “Add New.”
- Enter a title and description for your product.
- Set the price, stock quantity, and other product details.
- Upload product images and assign product categories and tags.
- Once you’ve filled in all the necessary information, click “Publish” to make your product live on your website.
Repeat this process for each product you want to sell in your online shop.
Step 6: Customise Your Store
With your products added, take some time to customise your store’s appearance and functionality. You can customise various aspects of your store, including:
- Homepage layout
- Navigation menus
- Colour scheme and typography
- Footer content
- Checkout process
Explore the customisation options available in your WordPress theme and WooCommerce settings to tailor your store to your preferences.
Step 7: Test and Launch Your Store
Before launching your store to the public, it’s essential to thoroughly test its functionality to ensure everything is working correctly. Test the browsing experience, add products to the cart, proceed through the checkout process, and make a test purchase to confirm that payments are processed successfully.
Once you’re satisfied with your store’s performance, it’s time to launch it to the world. Announce your store launch on social media, email newsletters, and other marketing channels to attract your first customers.
Conclusion
Setting up a self-hosted ecommerce website with WordPress and WooCommerce is a relatively simple process that anyone can undertake, regardless of technical expertise. By following the steps outlined in this guide, you can quickly create a professional-looking online shop and start selling your products to customers around the world.
Remember to regularly update your website with new products, promotions, and content to keep your audience engaged and coming back for more. With dedication and perseverance, your ecommerce venture has the potential to thrive and grow into a successful online business.
Good luck and happy selling!


No Comments